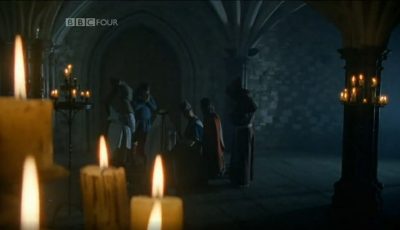
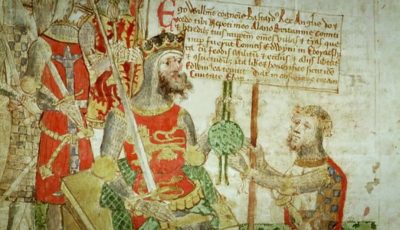
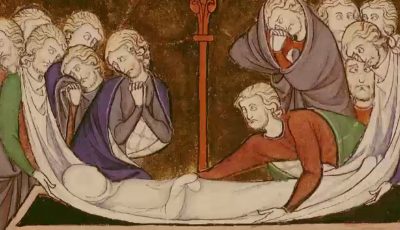
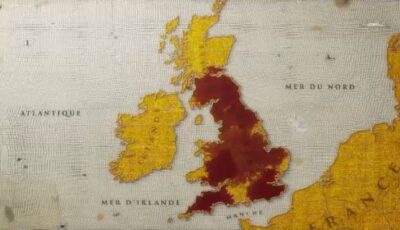
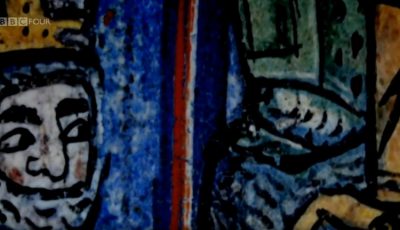
The death of Edward the Confessor | A History of Britain by Simon Schama
Simon Schama discusses the problems around who would succeed Edward the Confessor.
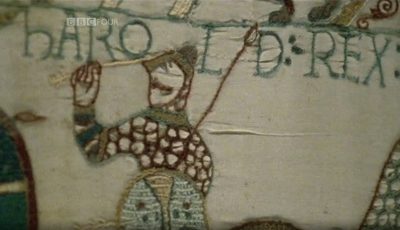
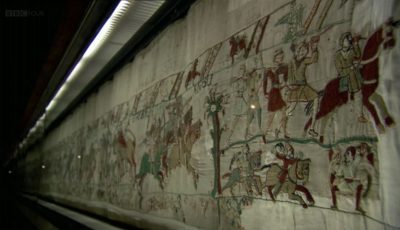
Harold Godwinsons embassy to Normandy | A History of Britain by Simon Schama
Simon Schama investigates the Bayeux Tapestry and the story of Harold Godwinson's journey to Fra...
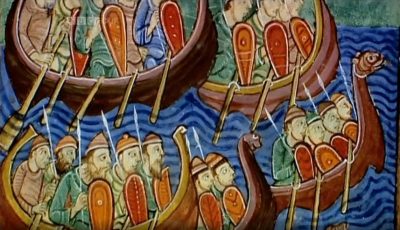
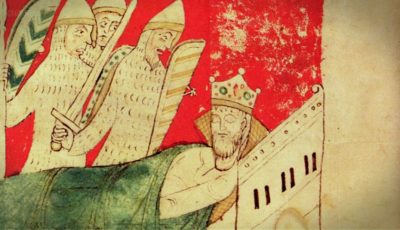
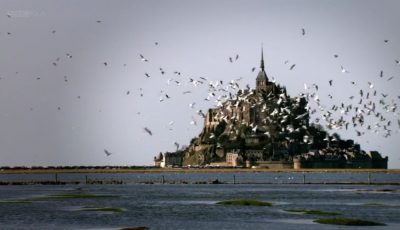
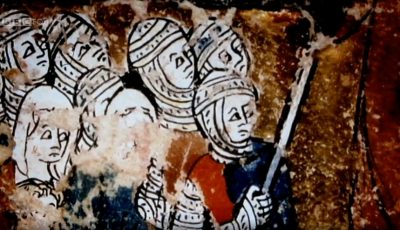
Harald Hardrada and the Battle of Stamford Bridge | A History of Britain by Simon Schama
Simon Schama investigates the character of Harald Hardrada and the circumstances of ...
Hastings | War Walks
Professor Richard Holmes walks and rides over the Hastings battlefield that marks a turning point in British history, handling the weapons and equipment...
1066 Unpacked | The One Show
Dan Snow recruits a team of volunteers to demonstrate the movements made by the rivals to the throne and how King Harold's armies attempted to d...
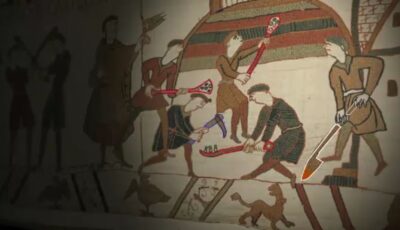
The Battle of Hastings | A History of Britain by Simon Schama
Simon Schama discusses the 1066 Battle of Hastings.
The 1066 invasion | The Normans
Robert Bartlett gives a step-by-step guide to the infamous Battle of Hastings where William took the throne from King Harold and so ended th...
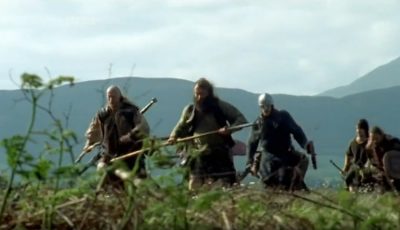
Norman invasion | Michael Wood's Story of England
Michael talks to some historical reenactors about what the Norman Conquest would have been like for the Anglo-Saxons.
The Battle of Hastings | Mysteries of the Bayeux Tapestry
The Tapestry reveals much about soldiers armoury and how the Battle of Hastings was fought.
William the Conqueror | Seven Ages of Britain
David Dimbleby explores what kind of man William the Conqueror was, his interest in stone over culture and why his success in C...
William the Bastard | The Normans
Details of William the Conqueror's origin as the son of an embalmer and the turbulent times he was born into, facing rebellion at every tur...
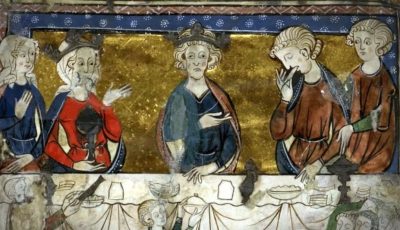
William's English links | The Normans
William had links to England as he was Edward the Confessor's cousin, so with Edward's death imminent he could make a plausible claim t...
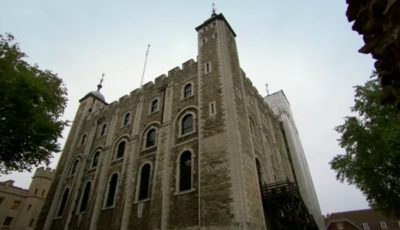
Tower of London | Seven Ages of Britain
David Dimbleby visits the Tower of London, which was one of William the Conqueror's first statement buildings when in power.
Norman land ownership | Michael Wood's Story of England
Records in the national archives detail how small villages were divided up after the Norman invasion.
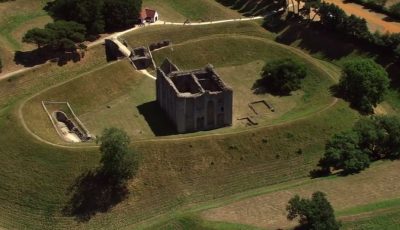
William's castles | The Normans
William's coronation was met with some angst, but he persevered and proceeded to divide up land to Norman noblemen and build castles.
Norman castles | Michael Wood's Story of England
William the Conqueror brought castle-building to England, oppressing the English by installing French men as the local autho...
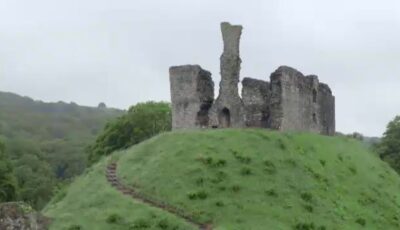
Castles | Mysteries of the Bayeux Tapestry
The Tapestry also reveals a new type of a castle being built by the Normans, ones that are raised for strategic military advantage.
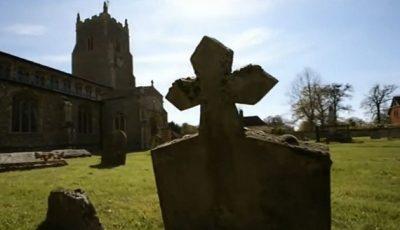
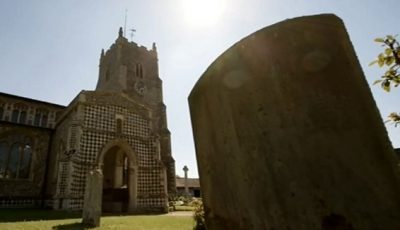
Norman churches | The Normans
Being devout Christians, the Normans were responsible for much of the religious infrastructure England knows today.
Norman cultural changes | The Normans
Robert Bartlett describes the cultural changes that the Normans brought to Britain.
Harrying of the North | The Normans
Offshoots of Anglo-Saxons, particularly in Northern England, would target roaming Normans, killing them to prevent any changes to their l...
Hereward the Wake | The Normans
Hereward the Wake oversaw the next resistance to King William, and got help from the Danish to attack England from the East.
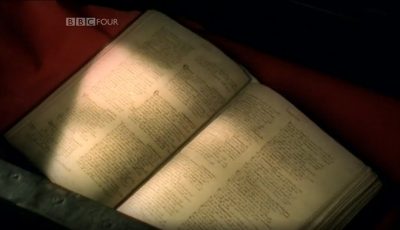
The Domesday Book | A History of Britain by Simon Schama
Simon Schama discusses the Domesday Book, a survey of England that William the Conqueror ordered.
The Domesday Book | The Normans
Robert Bartlett details the beginnings of the Domesday book and the kind of information that William requested for it, highlighting the demis...
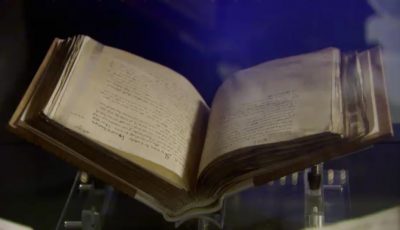
Why was Domesday book commissioned? | Domesday
Dr Stephen Baxter investigates the contrasting theories about why the Doomsday Book was commissioned.
The Origins of the Book | Domesday
Dr Stephen Baxter discusses the origins of the Doomsday Book.
What Questions did it ask? | Domesday
Dr Stephen Baxter investigates the questions that were asked when commissioners were collecting data for the Domesday Book.
The Cambridge Inquest | Domesday
Dr Stephen Baxter investigates one of the inquests that took place for the Domesday Book.
Rigging the Inquests | Domesday
Dr Stephen Baxter explains how some people managed to rig what was documented in the Doomsday record.
The consequences of the Book | Domesday
Dr Stephen Baxter discusses the consequences of the Domesday Book.
William's death | The Normans
On his deathbed, William confessed to his sins and his regrets towards how he treated the English people. After he died, panic and chaos ensued...
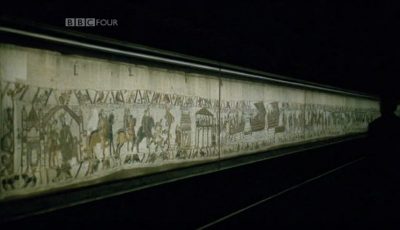
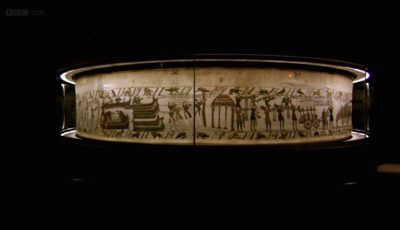
The Bayeux Tapestry | Seven Ages of Britain
David Dimbleby walks through the history depicted on the Bayeux Tapestry, explaining each stage of the Norman conquest.
The Normans | The Normans
Summing up the achievements and nature of the Norman people and their affect on Europe.
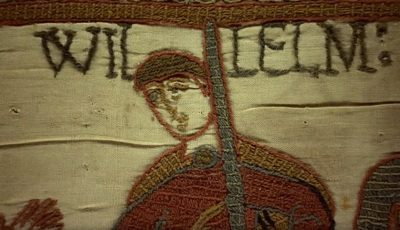
The Bayeux Tapestry | The Normans
Robert Bartlett guides us through the Bayeux Tapestry and details the historical timeline of events that lead to the beginning of the infam...
The Story | Mysteries of the Bayeux Tapestry
A run-through of the story told by the Bayeux Tapestry.
Purpose | Mysteries of the Bayeux Tapestry
Ultimately the artwork's purpose is to justify the invasion, whilst unsuccessfully attempting to reconcile the victors and the van...
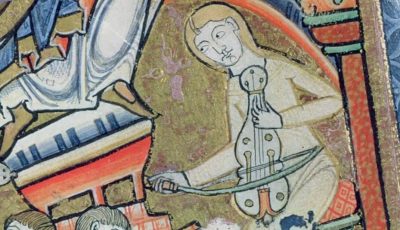
Historical findings | Mysteries of the Bayeux Tapestry
It archaeological value is priceless as it clearly shows medieval objects and how they are used.
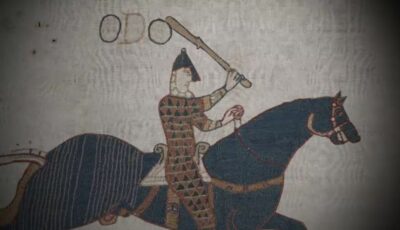
Commissioner | Mysteries of the Bayeux Tapestry
It is thought the commissioner of the Tapestry was William's brother Odo, as he features regularly and always in a good light.
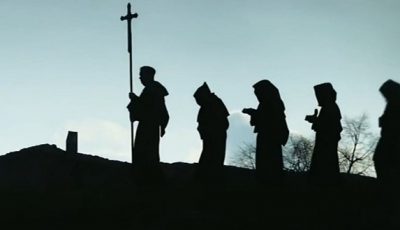
Early Christianity | The Crusades
Thomas Asbridge investigates Medieval Christianity and the background to the concept of the crusade.
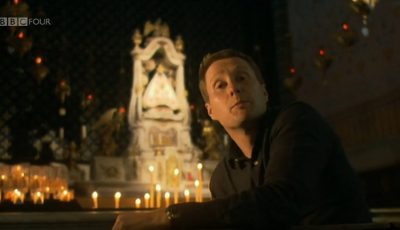
The first crusade | Jerusalem: The Making of a Holy City
Simon Sebag Montefiore discusses the events of the first crusade.
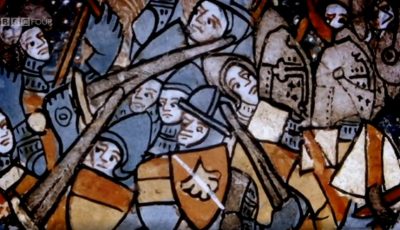
Crusaders versus the Elements | The Crusades
Thomas Abridge discusses the crusaders resilience against the hot weather of the Asia Minor.
Crusaders Meet the Turks | The Crusades
Thomas Abridge discusses the beginning of the Holy War, with the crusaders invading Nicea, in Western Asia Minor.
Peter Bartholomew | The Crusades
Thomas Abridge tells the story of Peter Bartholomew and the fire.
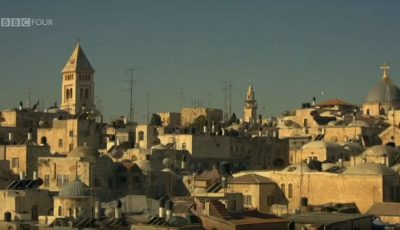
Pilgrimage to Jerusalem | The Crusades
Thomas Asbridge discusses the first crusade to Jerusalem.
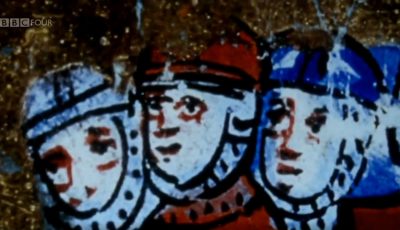
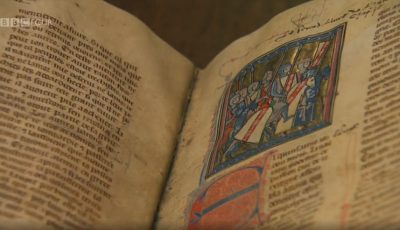
The Chronicle of the Crusades | The Crusades
Thomas Asbridge discusses the noblemen that joined the crusades, some of who sought to chronicle the events.
The fall of Antioch | The Crusades
Thomas Abridge discusses the crusaders gruelling siege of the well guarded Antioch.
The Holy Lance | The Crusades
Thomas Abridge tells the story of Peter Bartholomew and the Holy Lance.
The Promise of redemption | The Crusades
Thomas Asbridge discusses the Pope's promise of redemption, which reconciled violence and faith in order to draw noblemen into the c...
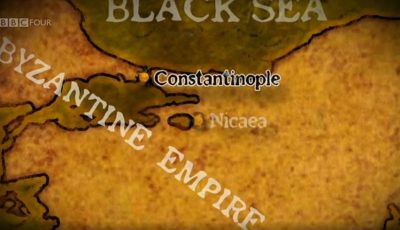
The Reality of the First Crusade | The Crusades
Thomas Asbridge investigates the experiences of the crusaders and visits Constantinople.
The fall of Jerusalem | The Crusades
Thomas Abridge recounts the events of the brutal fall of Jerusalem.
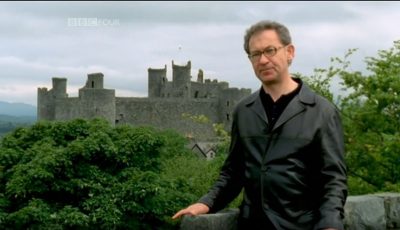
Castle building in Wales and the expulsion of the Jews | A History of Britain by Simon Schama
Simon Schama investigates the building of castles during the reign of Edward I ...
Edward I, overlord of Scotland | A History of Britain by Simon Schama
Simon Schama discusses Edward I's brutal 1296 campaign in Scotland.
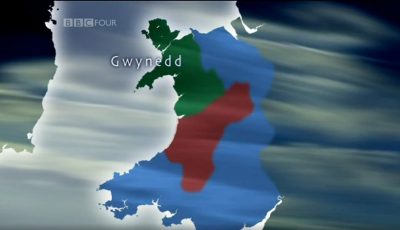
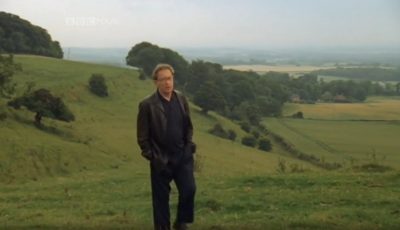
Edward I's conquests in Wales | A History of Britain by Simon Schama
Simon Schama discusses Edward I's conquests in Wales.
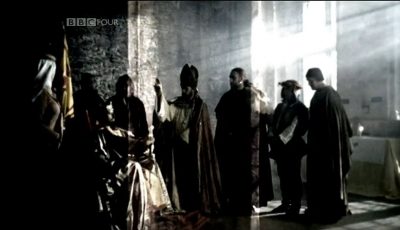
Robert the Bruce becomes King at Scone | A History of Britain by Simon Schama
Simon Schama discusses Robert the Bruce and how he became King at Scone.
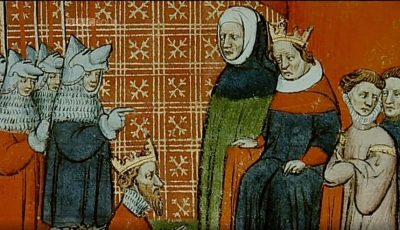
Succession problem following the death of Alexander III of Scotland | A History of Britain by Simon Schama
Simon Schama discusses the succession problem following the death ...
William Wallace at Stirling and Falkirk | A History of Britain by Simon Schama
Simon Schama investigates the battles of Stirling and Falkirk and William Wallace's subsequent...
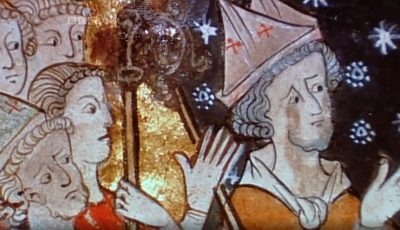
The Black Death | Chivalry and Betrayal: The Hundred Years War
Dr Janina Ramirez examines graffiti on the walls of a church, that documents the plague that disrupted the Hun...
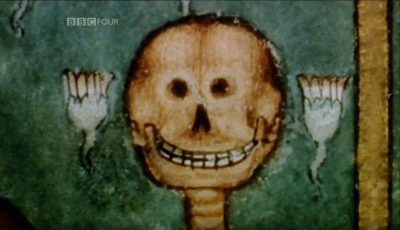
How the Black Death changed social structure | A History of Britain by Simon Schama
Simon Schama explains how the Black Death changed Medieval social structures.
How the Lollard religion grew from the Black Death | A History of Britain by Simon Schama
Simon Schama explains how the Lollard religion was developed from the Black Death.
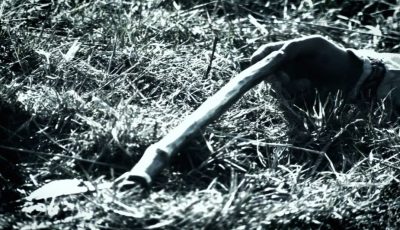
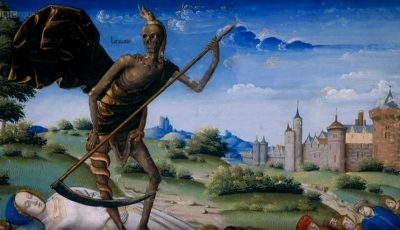
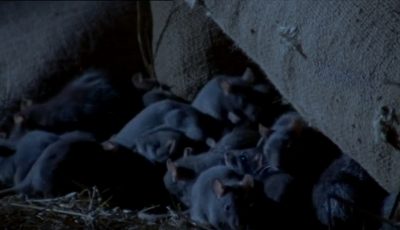
The Black Death | Europe: A Natural History
How the black death was spread in the late 1340's.
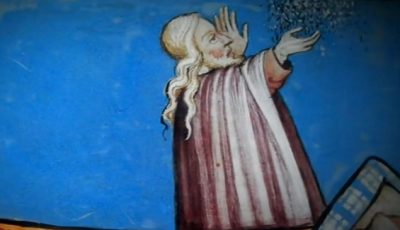
Medieval treatment and beliefs on the cause of the Black Death | A History of Britain by Simon Schama
Simon Schama discusses the Medieval beliefs about what caused the Black...
The symptoms of Black Death and how it spread | A History of Britain by Simon Schama
Simon Schama discusses the black death, explaining it's symptoms and how it spread.
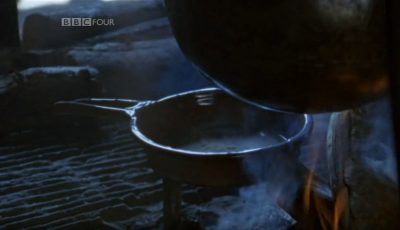
A Remarkable Doctor | Ken Follett's Jouney Into the Dark Ages
Author Ken Follett explores the work of a plague doctor in the Santa Maria Nuova hospital in Florence. Contains...
How the Black Death Spread | Ken Follett's Jouney Into the Dark Ages
Professor Johannes Krause explains the modern scientific understanding of how the Black Death spread fro...
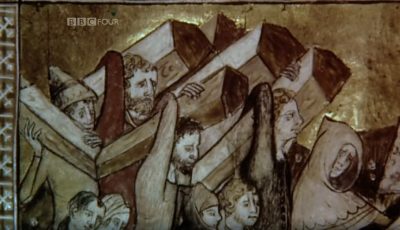
One Family and the Black Death | Ken Follett's Jouney Into the Dark Ages
Author Ken Follett explores the impact of the Black Death in Britain through the lens of one family...
The First Signs of the Black Death in Europe | Ken Follett's Jouney Into the Dark Ages
Author Ken Follett explores the first signs of the Black Death in Europe and the early...
Social changes after the Black Death | Ken Follett's Jouney Into the Dark Ages
Author Ken Follett explores the societal changes that came about as a result of the Black Deat...
The Most Dangerous Job in the World | Ken Follett's Jouney Into the Dark Ages
As the plague comes to Winchester and the Catholic Church attempts to offer solutions, monks ar...
What caused the Peasants Revolt? | A History of Britain by Simon Schama
Simon Schama explains what caused the Peasants Revolt.
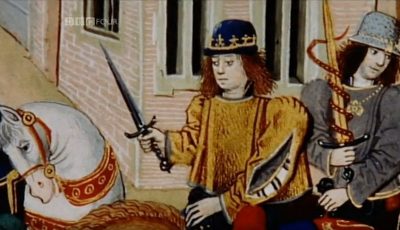
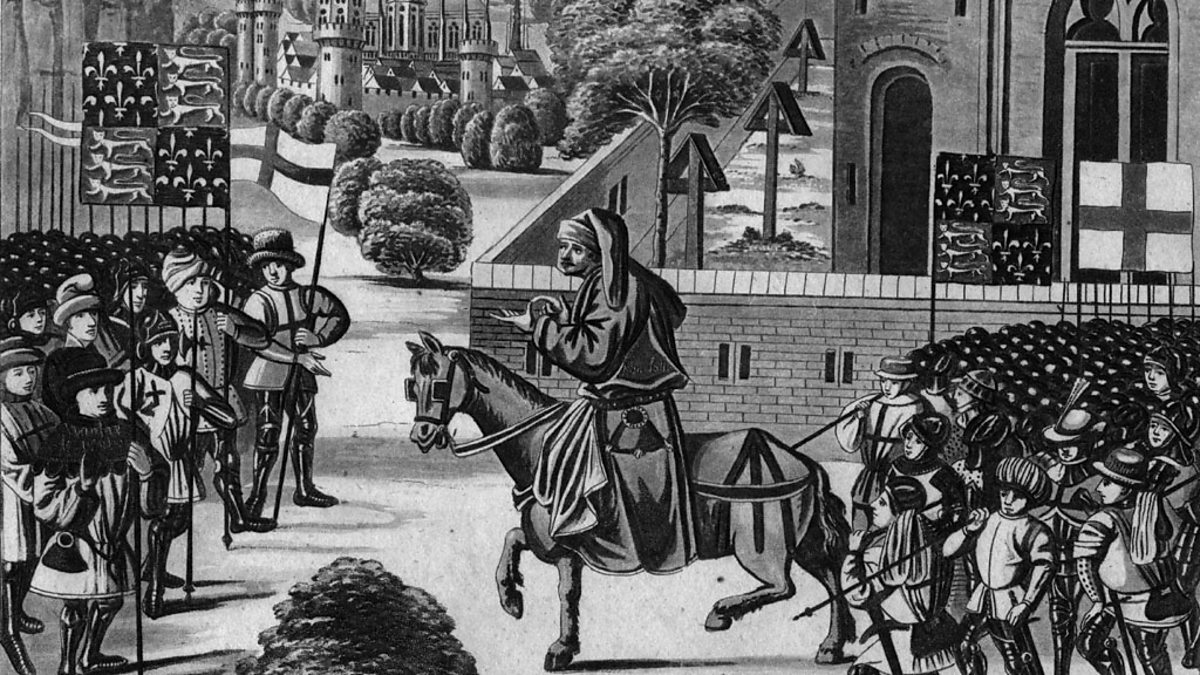
Events of the Peasants Revolt | A History of Britain by Simon Schama
Simon Schama discusses the key events of the Peasants Revolt.
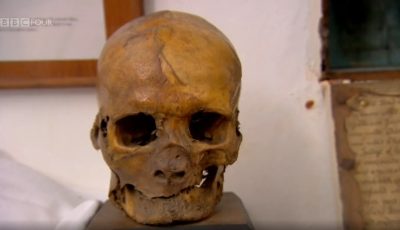
Simon Sudbury and the 1381 Peasants' Revolt | Chivalry and Betrayal: The Hundred Years War
Dr Janina Ramirez examines the scull of Simon Sudbury, the Lord Chancellor of Engl...
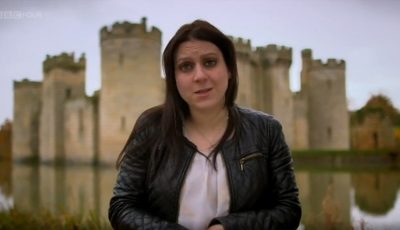
The impact of the 1381 Peasants' Revolt | Chivalry and Betrayal: The Hundred Years War
Dr Janina Ramirez investigates the impact of the 1381 Peasants' Revolt.
In Our Time: The Peasants' Revolt
Melvyn Bragg examines the 1381 Peasants’ Revolt, a pivotal moment in England’s history.
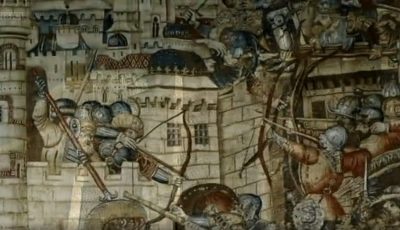
Agincourt | War Walks
A journey through six centuries of warfare. Military historian Professor Richard Holmes analyses the Battle of Agincourt.
Aftermath of the Hundred Years War | Chivalry and Betrayal: The Hundred Years War
Dr Janina Ramirez explains how the Hundred Year War changed Britain and France.
Battle of Agincourt | Chivalry and Betrayal: The Hundred Years War
Dr Janina Ramirez discusses the famous Battle of Agincourt with historian Ian Mortimer.
Battle of Castillon | Chivalry and Betrayal: The Hundred Years War
Dr Janina Ramirez investigates the final battle of the Hundred Year War.
Battle of Crecy | Chivalry and Betrayal: The Hundred Years War
Dr Janina Ramirez talks to Historian Andrew Ayton about what happened in the Battle of Crecy.
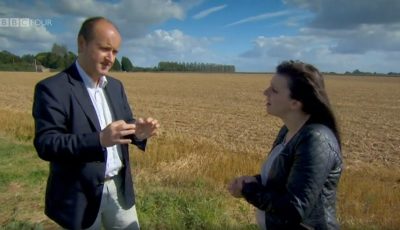
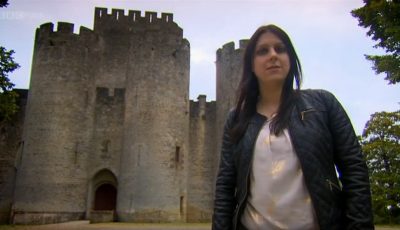
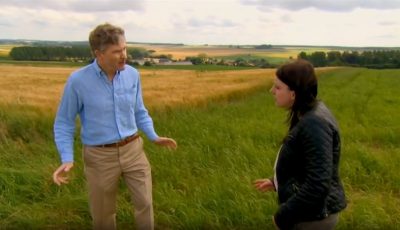
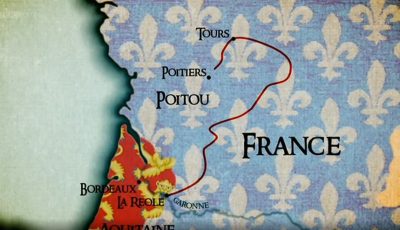
Battle of Poitiers | Chivalry and Betrayal: The Hundred Years War
Dr Janina Ramirez explores the French defeat at the Battle of Poitiers and the subsequent Treaty of Bretigny.
Beginnings of the hundred years war | Chivalry and Betrayal: The Hundred Years War
Dr Janina Ramirez introduces the early tensions between King Edward III and his cousin the...
Bertrand du Guesclin | Chivalry and Betrayal: The Hundred Years War
In 1370 Charles appointed Bertrand Du Guesclin as his commander in chief. Within a year, he had won back ...
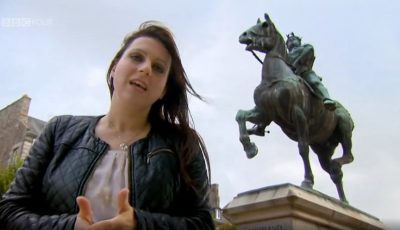
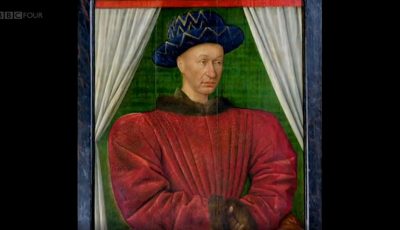
Charles VII artillery | Chivalry and Betrayal: The Hundred Years War
Dr Janina Ramirez investigates the new artillery techniques that Jean Bureau developed for Charles VII t...
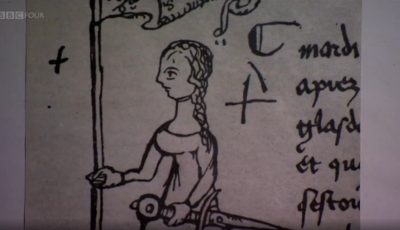
Chivalry | Chivalry and Betrayal: The Hundred Years War
Dr Janina Ramirez examines 600-year-old manuscripts that set out the chivalric code for knights.
Henry V | Chivalry and Betrayal: The Hundred Years War
Dr Janina Ramirez investigates the character of the famous King Henry V.
Joan of Arc and the Siege of Orleans | Chivalry and Betrayal: The Hundred Years War
Dr Janina Ramirez investigates the role that 17 year old Joan of Arc played in the French...
Order of the Garter | Chivalry and Betrayal: The Hundred Years War
Dr Janina Ramirez investigates the significance of Edward III's Order of the Garter.
Richard II and Henry Bollingbroke | Chivalry and Betrayal: The Hundred Years War
Dr Janina Ramirez explains how Henry Bolingbroke seizes the throne from Richard II.
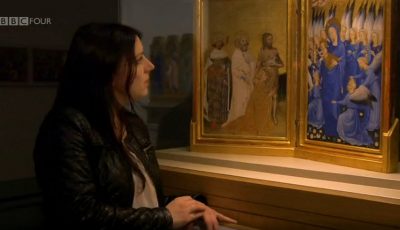
Richard II and the Wilton Diptych | Chivalry and Betrayal: The Hundred Years War
Dr Janina Ramirez examines the Wilton Diptych, which was commissioned by Richard II as a por...
Siege of Calais | Chivalry and Betrayal: The Hundred Years War
Dr Janina Ramirez investigates the Siege of Calais through visual representations of its events.
The Black Prince's chevauchée of 1355 | Chivalry and Betrayal: The Hundred Years War
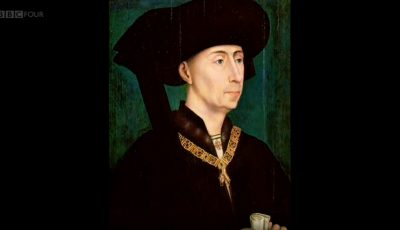
The Duke of Burgundy | Chivalry and Betrayal: The Hundred Years War
Dr Janina Ramirez investigates the internal conflicts in France produced by the Duke of Burgundy.
The trial and execution of Joan of Arc | Chivalry and Betrayal: The Hundred Years War
Dr Janina Ramirez examines the official Latin trial record of the heresy trial of Joan ...
Treaty of Troyes | Chivalry and Betrayal: The Hundred Years War
Dr Janina Ramirez explores the Treaty of Troyes, in which King Charles of France was forced to disown his son...
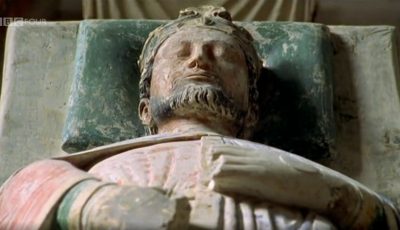
Henry II's defeat | A History of Britain by Simon Schama
Simon Schama discusses the defeat of Henry II and his subsequent death.
Henry II's legacy | A History of Britain by Simon Schama
Simon Schama discusses the legacy of Henry II, following his role in the death of Thomas Becket.
Henry II's legal reform | A History of Britain by Simon Schama
Simon Schama investigates Henry II's legal reform.
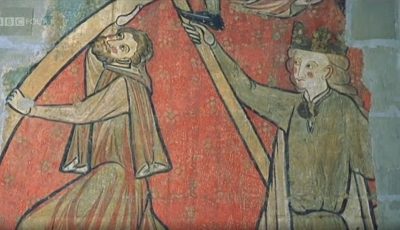
The murder of Thomas Becket | A History of Britain by Simon Schama
Simon Schama discusses the circumstances in which Thomas Becket was murdered.
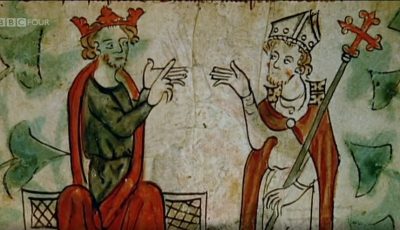
The reconciliation of Henry II and Thomas Becket | A History of Britain by Simon Schama
Simon Schama discusses the circumstances in which Henry II and Thomas Becket reconcil...
The souring of friendship between Henry II and Thomas Becket | A History of Britain by Simon Schama
Simon Schama investigates the declining relationship between Henry II and...
Cookies help us run our services and give you a better experience. For the full details please read our Cookie Policy.